With my spring cleaning, I am dusting off my poor, forgotten blog. I noticed yesterday that The Creative Sanctuary has received almost 5,000 views! I am hoping that this will prove to be motivation for me to keep posting! Well anyway, on to my favorite project...
I began this project showing my students the fabulous work of
Mark Jenkins. He is an installation artist who creates realistic forms using packing tape.
We discuss Jenkins work. Why is it interesting? How are his sculptures site-specific? How can you make your work site-specific at school? I encourage students to make their sculptures site-specific and convey a message.
Students are then required to create a proposal and preliminary sketches. They have to write a formal letter to the teacher or administrator who has jurisdiction over the site they wish to use, and submit it for approval. Once they've been approved, we're on to the fun part: tape and plastic wrap!
This project is done in partners; one person being the tape-er and the other the tape-e. I recommend same-sex partnerships. When it comes time for the awkward body parts to be wrapped, boy/girl partnerships get uncomfortable quickly! They begin by wrapping a chosen body part in one layer of plastic wrap to prevent any tape sticking to their partner. I encourage them to start with a simple part; arms or legs. You then add 5-7 layers of packing tape, being careful not to wrap them too tightly. We have found if you cut several pieces of tape before hand, as opposed to just using the roll, it's easier to keep it loose. **It's important for students to keep in mind the position of their person when wrapping any joints; elbows, knees, hips, shoulders, etc.**
Now for the tricky part, the cutting. I have scissors designated JUST for tape because they quickly become covered in adhesive and useless for anything else. I have also had students in the past who offered to bring in medical scissors used for cutting bandages. This worked really well and was safest, but I don't encourage it because the scissors are expensive. I have never had any injuries other than minor scratches using regular scissors. The students are very careful when it comes to this part.
We create these sculptures in several pieces. The pieces may vary depending on the sculptures position, but usually we end up with: arms, hands, legs, feet, head, "shorts" piece (the awkward one!), and torso. Often, we break up the torso into two pieces; the chest/shoulder piece and stomach piece. For the head piece, I purchased a styrofoam head for them to wrap. It is not safe for students to make tape casts of their heads due to suffocation.
Once they have acquired all of their person's body-parts, they put them together and install them. Often, students find the parts that hold the most weight will cave in and they have to reinforce them with more layers of tape. This is especially true when they add clothing. Installing them is always an adventure. The ones that hold up the best are strung with fishing line and attached to the ceiling.
This project is always a great success. Every one of my students are engaged and working 100% of the time, which we all know is not the easiest thing to accomplish. As a bonus, having them strewn about the school freaks out their classmates and gets everyone talking about them! I hope you enjoy their work as much as I do!
"Horseplay"
"Teenage Pregnancy"
(Notice the blue packing tape baby-doll they've placed inside their sculpture)
"Tebowing"
"Reach for the Stars"
"Beauty Sleep"
"Hidden Talents"
"The Sky is the Limit"
"Releasing Pressure"
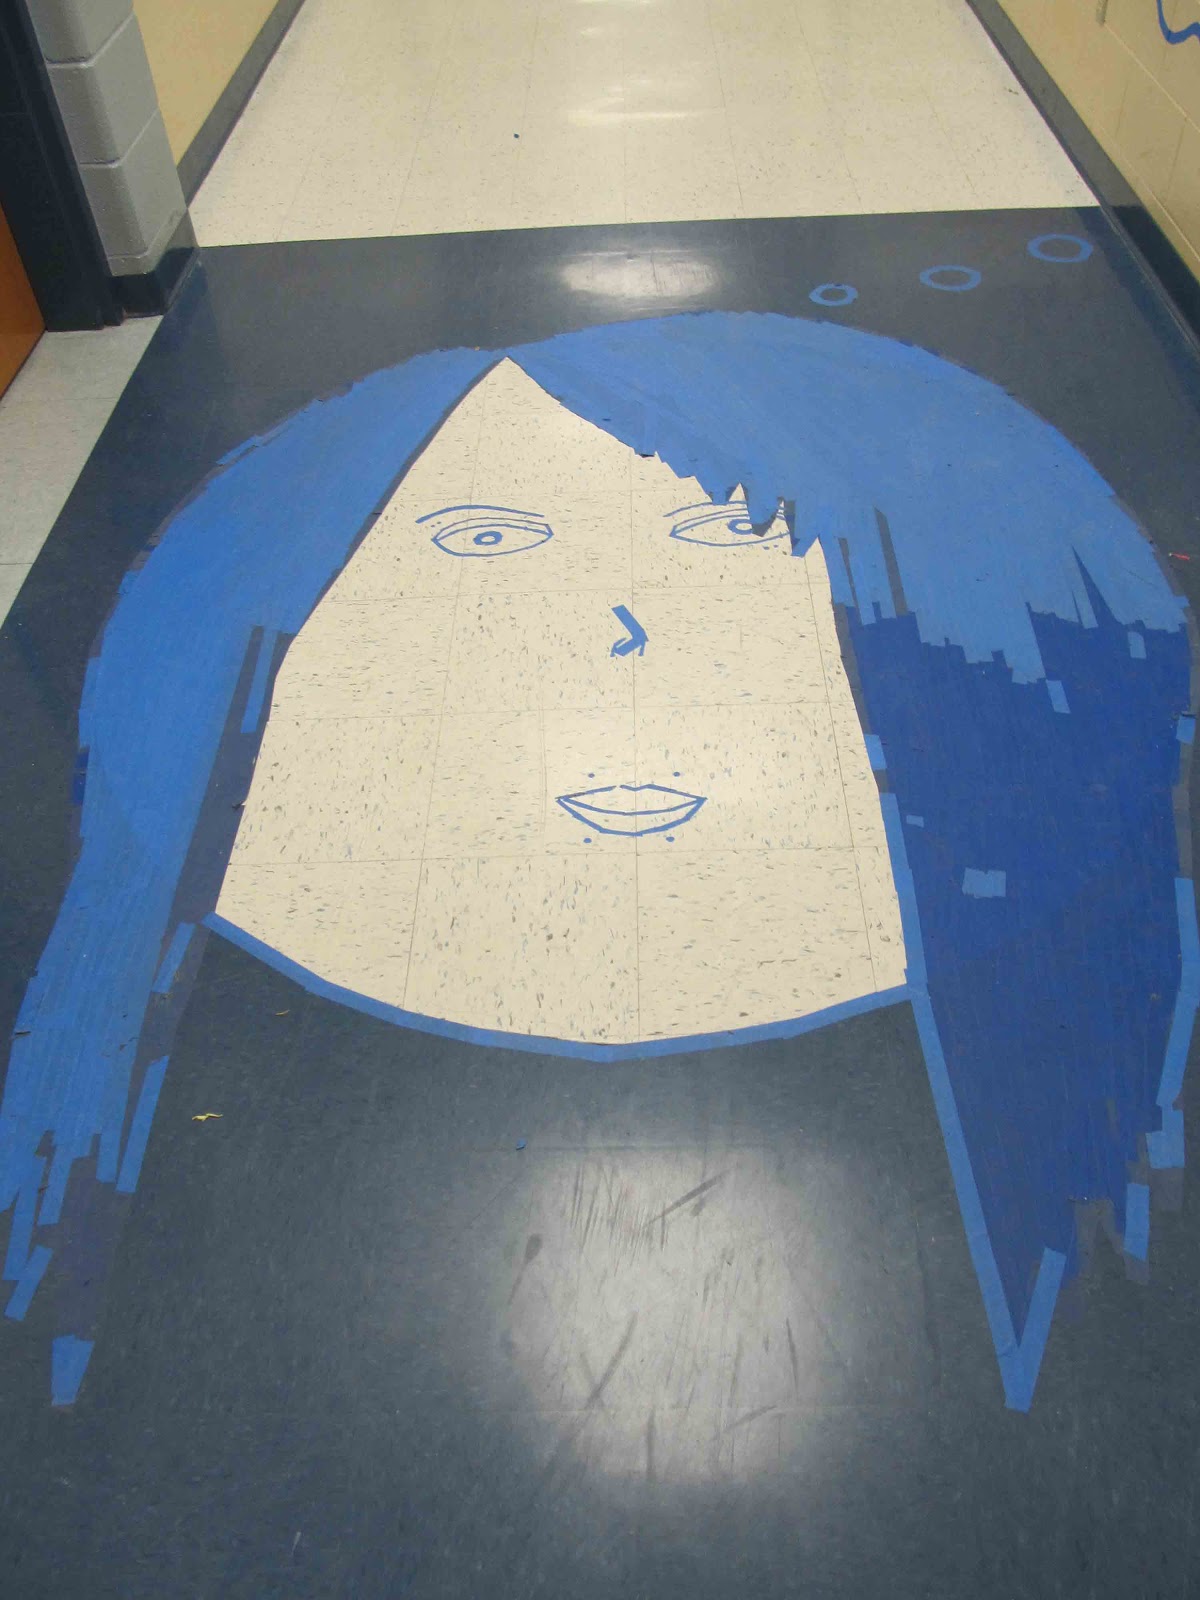
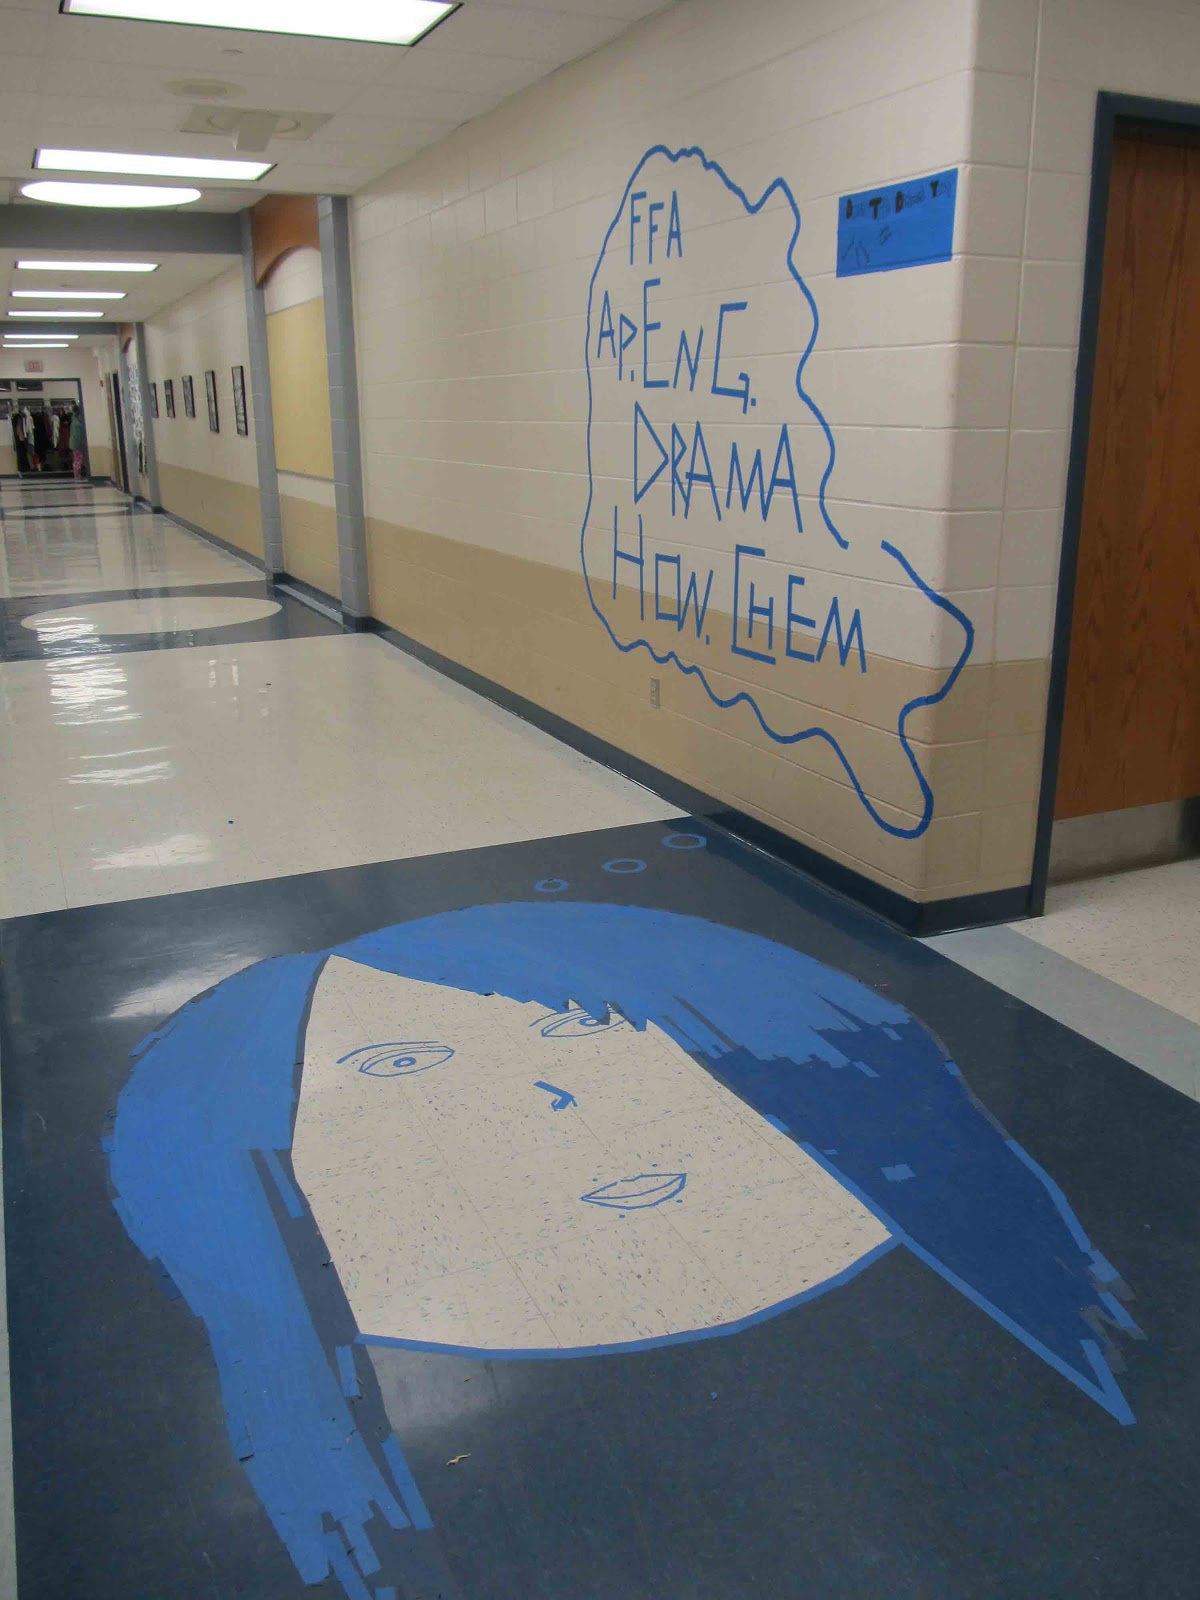
"Model Student"
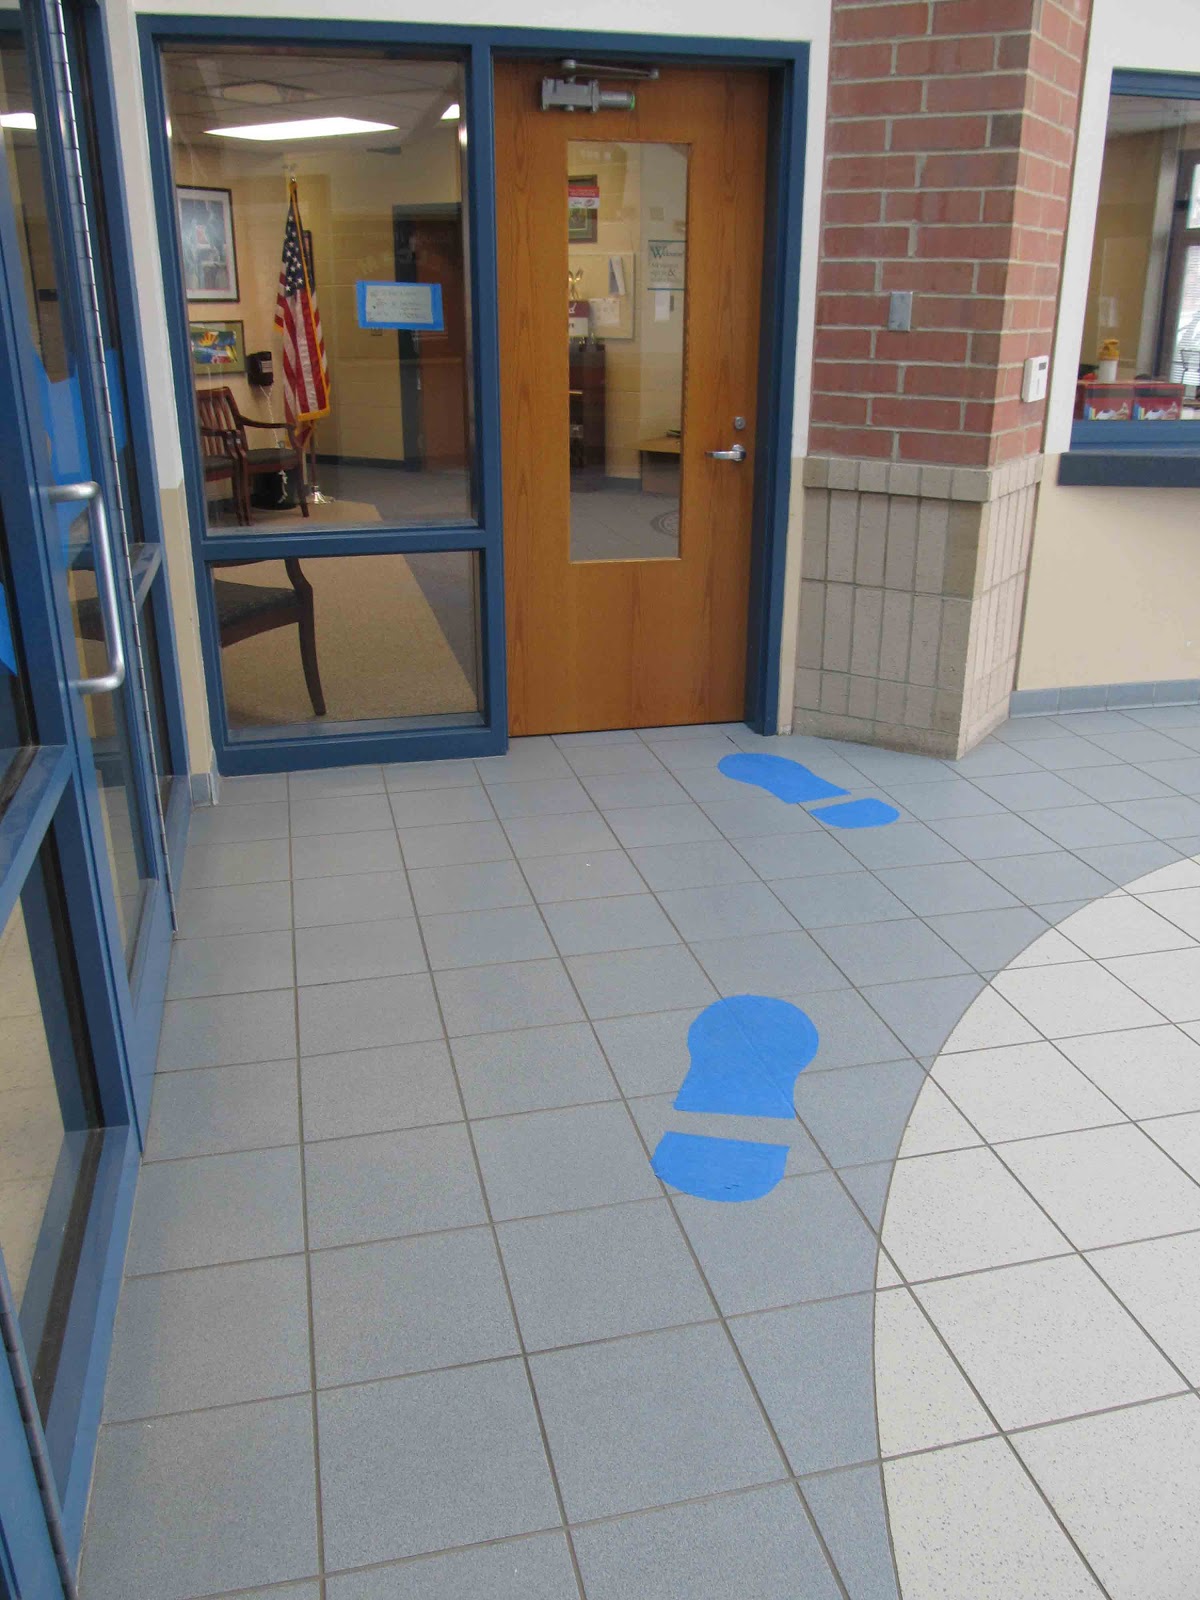
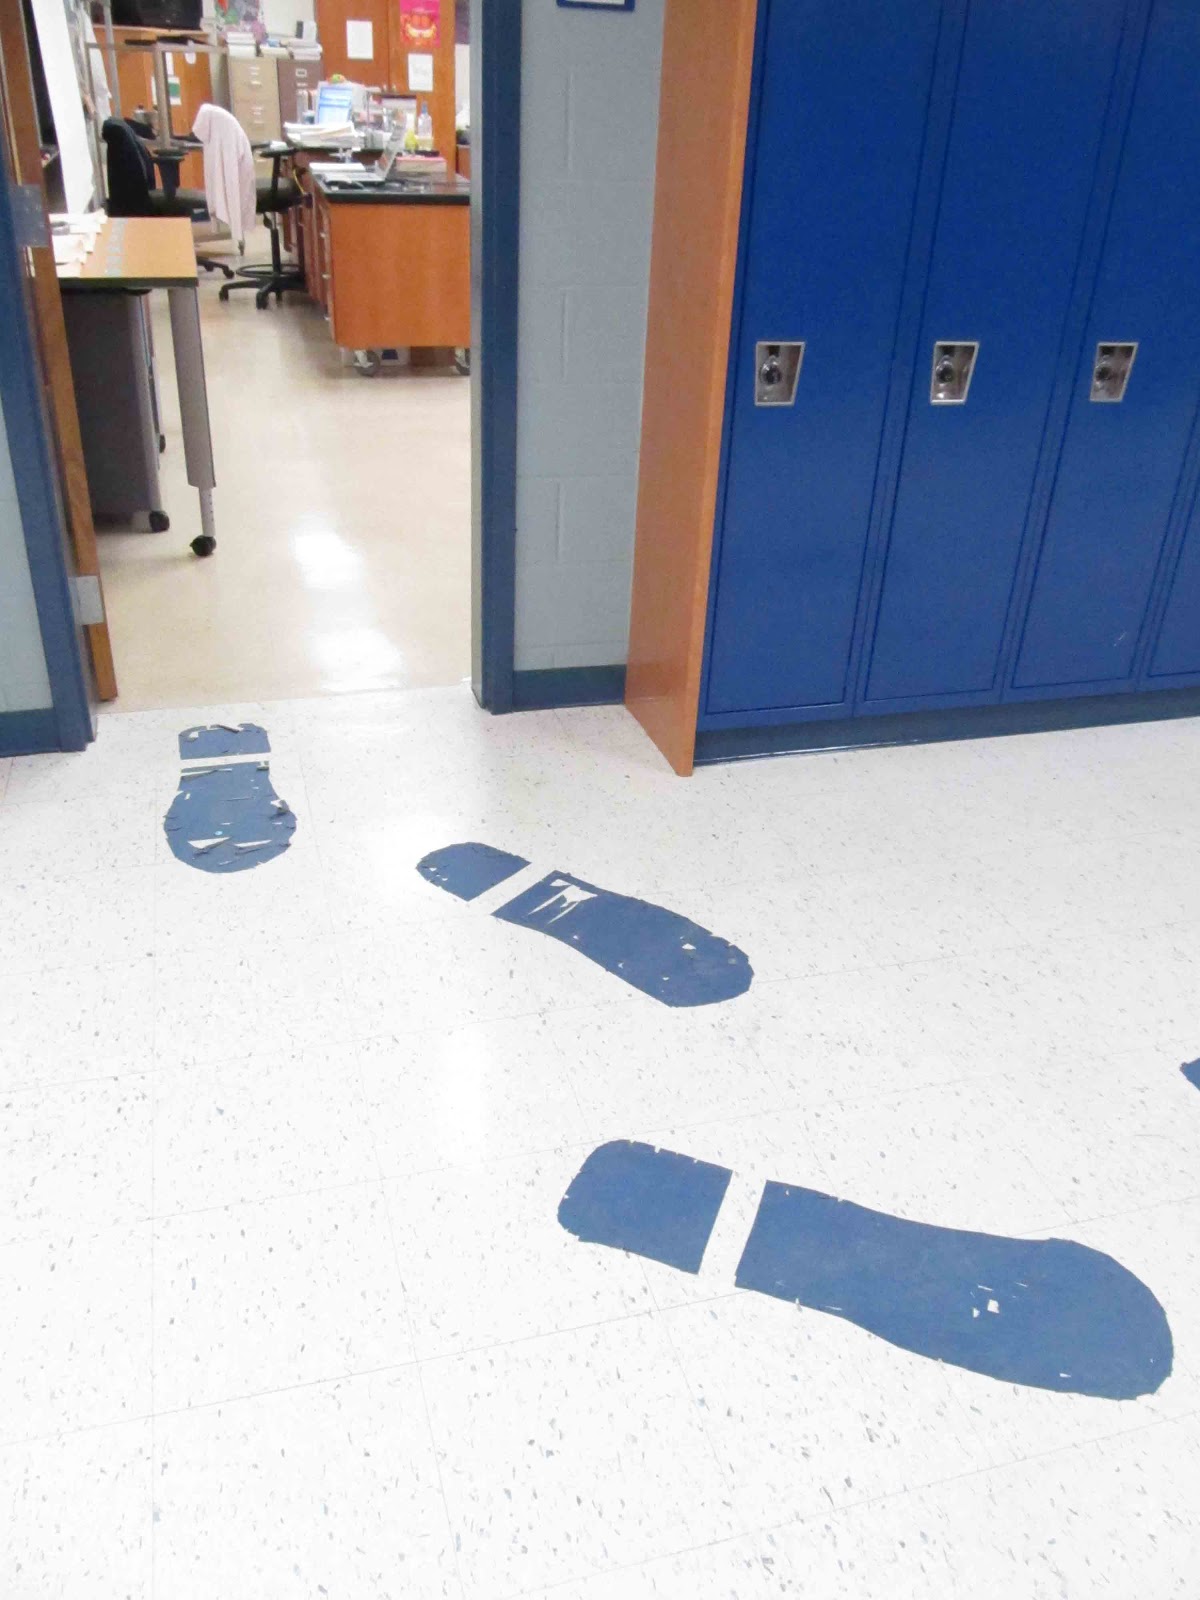
"Freedom"
"Healthy Choices"